


How to Add a Product on the 4buyn.com Seller App – Step-by-Step Guide
If you're a seller looking to add a new product to your online store on 4buyn.com, follow this comprehensive step-by-step guide using the 4buyn.com Seller App. This walkthrough ensures that your product listing is complete, professional, and optimized for customers to find and purchase.
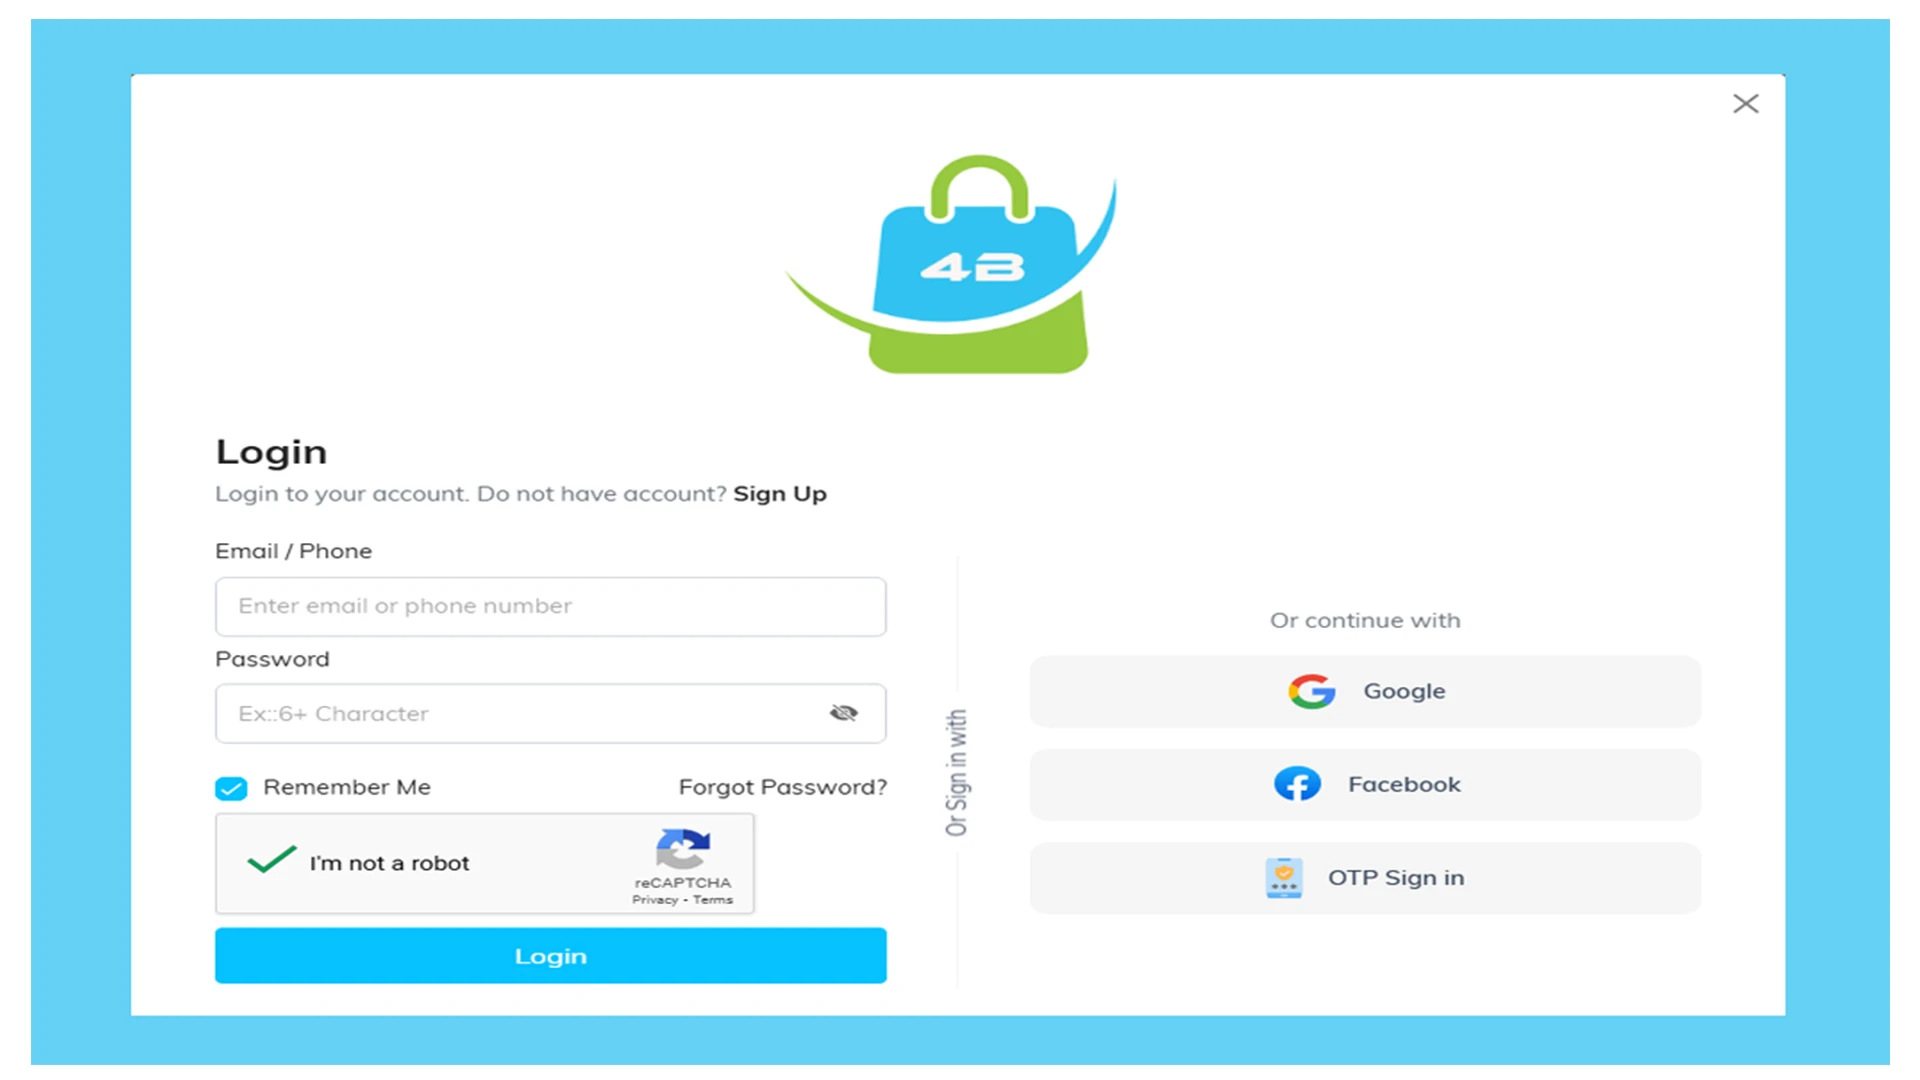
Start by opening the 4buyn.com Seller App on your smartphone or tablet. Make sure you're logged into your seller account. If you don’t have one yet, you'll need to register and get approved as a seller.
At the bottom of the screen, you’ll see a navigation bar. Tap on the menu icon to open the list of available options related to managing your store.
From the menu, choose the option labeled “Add Product.” This will take you to the product listing form where you can enter all the necessary details about your new item.
In the first field, type the name of your product. Make sure it is clear, concise, and accurately describes the item. This is the title your customers will see when browsing.
Next, use the text box to enter a comprehensive description of your product. Include features, benefits, materials used, usage instructions, or any other relevant information that would help the buyer make an informed decision.
Select the most appropriate category for your product to help users find it easily through filters and searches. Then choose the brand name (if applicable) and the unit of measurement (e.g., piece, kg, liter) that applies to your product.
Enter a unique SKU (Stock Keeping Unit) code for your item. This identifier helps you track inventory and manage stock levels efficiently. It can be alphanumeric, depending on your internal system.
Choose the type of product you’re listing (for example: simple or variable). Then, tap Next to move forward to the pricing and inventory details.
Input the price you want to charge per unit of your product. Make sure to include any applicable currency symbols and confirm it matches your intended pricing strategy.
Select the appropriate tax model that applies to your product based on your region or business requirements. Then, specify the tax percentage or amount to be added to the price.
If you're running a promotion or want to offer a discount, enter the amount either as a fixed value or a percentage. This will be displayed to customers during checkout.
Specify the total stock quantity available for this product. You can also set a minimum order quantity, which prevents customers from ordering below that amount.
Set the shipping cost for your product. If you allow customers to order multiple quantities, and your shipping cost varies accordingly, enable the “Multiple Cost by Quantity” option to adjust pricing dynamically.
If your product comes in different colors, sizes, or other variations, you’ll need to set these up here. Each variation can have its own price, stock level, and image.
Scroll to the SEO section and enter:
If you have a YouTube video showcasing your product (e.g., how-to guide, demo, or commercial), paste the video link into the field provided. This can improve customer engagement and trust.
Now it’s time to visually represent your product. Upload a thumbnail image that serves as the main product photo, along with any additional images that show the item from different angles or in use.
Once you’ve completed all required fields and double-checked the information for accuracy, tap the Submit button.
Your product has been successfully added to your 4buyn.com seller account and is now available for customers to view and purchase.
Fast shipping all across the country
100% Authentic products
We ensure secure transactions
We ensure quality support